文章插图
输入密码,刚才设置的rsync用户的密码

文章插图
咱们用ssh登录测试一下,无需输入密码就可以进去了
ssh rsync@192.168.10.162
文章插图
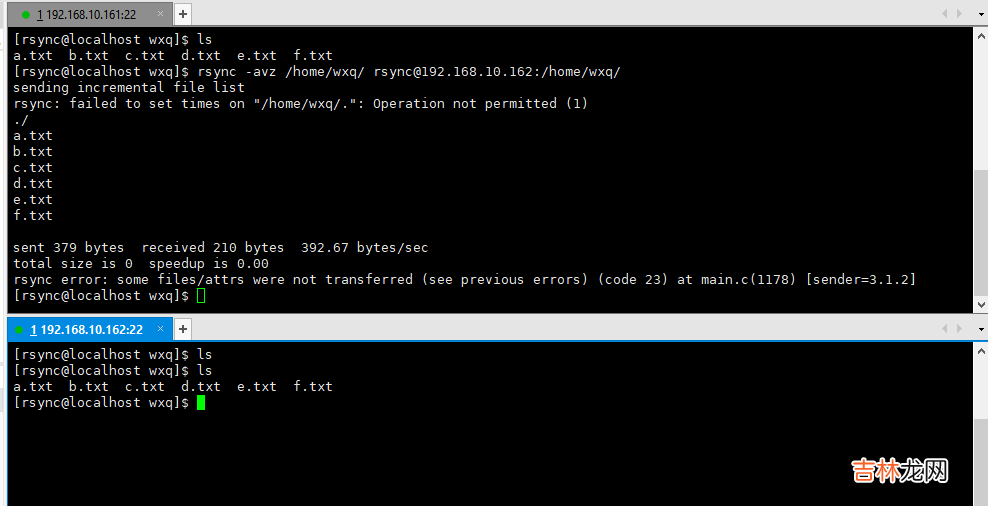
这时候我们测试一下同步就不需要密码了,我们在161上新建了一个文件,我们使用同步到162上
文章插图
我们看到此时就不需要密码就可以实现了
7.后台自动运行同步文件
Inotify 是一个 Linux特性,它监控文件系统操作,比如读取、写入和创建 。Inotify 反应灵敏,用法非常简单,并且比 cron 任务的繁忙轮询高效得多 。学习如何将 inotify 集成到您的应用程序中,并发现一组可用来进一步自动化系统治理的命令行工具 。安装 inotify在A服务器.部署了机房上使用root安装cd /home/tar -xvf inotify-tools-3.13.tar.gz
文章插图
cd inotify-tools-3.13/./configure && make && make install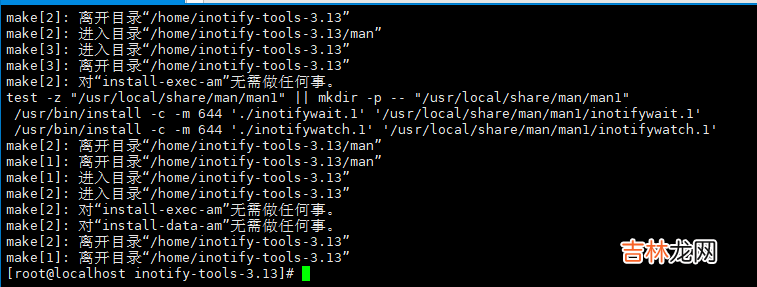
文章插图
inotifywait 命令 格式格式:inotifywait -mrq -e 监控动作 1,监控动作 2 /监控目录 &示例:inotifywait -mrq -e create,delete /filesrc &-m:始终保持事件监听状态-r:递归查询目录-q:只打印监控事件的信息监控动作:modify(内容),create,attrib(权限),move,deletersync+inotify实现数据同步使用root操作在部署机房的服务器上操作
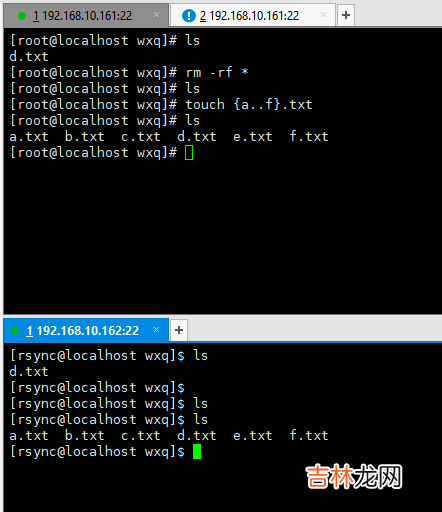
cd /home脚本1:只会同步增加修改的文件,不会同步删除的文件vi rsync.sh#!/bin/basha="inotifywait -mrq -e create,delete,modify /home/wxq/"b="rsync -avz /home/wxq/ rsync@192.168.10.162:/home/wxq/"$a | while read directory event file #while 判断是否接收到监控记录do$bdone脚本2:无论是新增还是修改,删除都会同步a="inotifywait -mrq -e create,attrib,move,delete,modify /home/wxq/"b="rsync -avz --delete /home/wxq/ rsync@192.168.10.162:/home/wxq/"$a | while read directory event filedo$bdone按下 :wq! 即可保存su rsync我们开始执行脚本bash /home/rsync.sh &//表示在后台执行
文章插图
接下来我们看看效果
文章插图
经验总结扩展阅读


- 埋在卫生间地下水管漏水怎么办 水管埋地下漏水维修方法介绍
- 2023年10月7日下葬好吗 2023年10月7日适合下葬吗
- 为什么每年过年都下雨 2022年过年前后天气预测
- 茉莉花可以直接摘下来泡茶吗
- 小天才z7可以登微信吗_小天才z7能不能下载微信
- linux安装达梦数据库8
- 月牙泉为什么不会被沙漠吞掉
- 哪些星座的爱情像是负重举得起放不下
- 酒精多少度会自燃
- 换下来的旧枕头怎么处理