文章插图
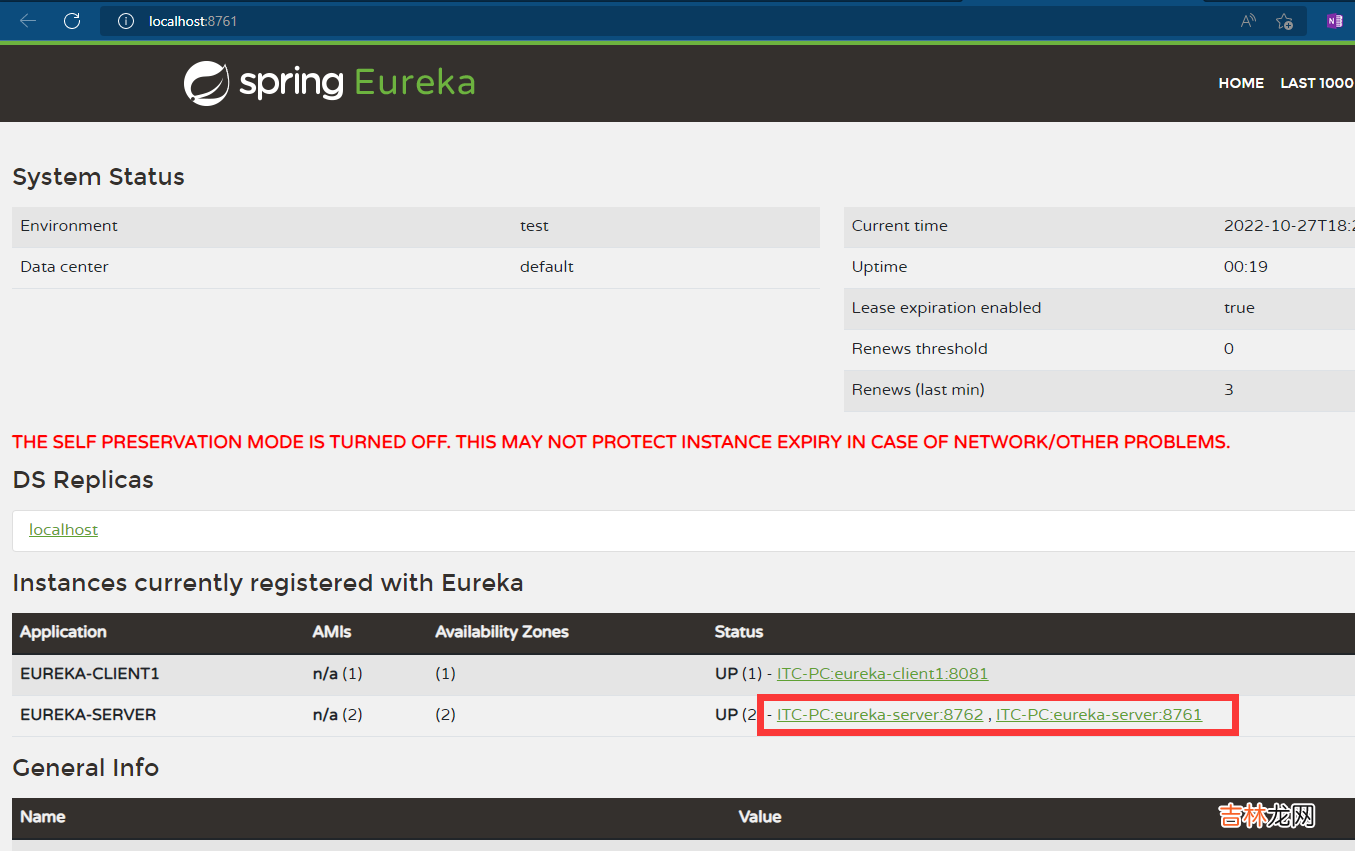
通过浏览器再次访问:http://localhost:8761/,出现两个实例
文章插图
在线扩充到三个 Eureka 实例同理,维持上述运行实例,先不要做任何重启动作,修改 eureka-client.yml 配置,让客户端感知到三个实例
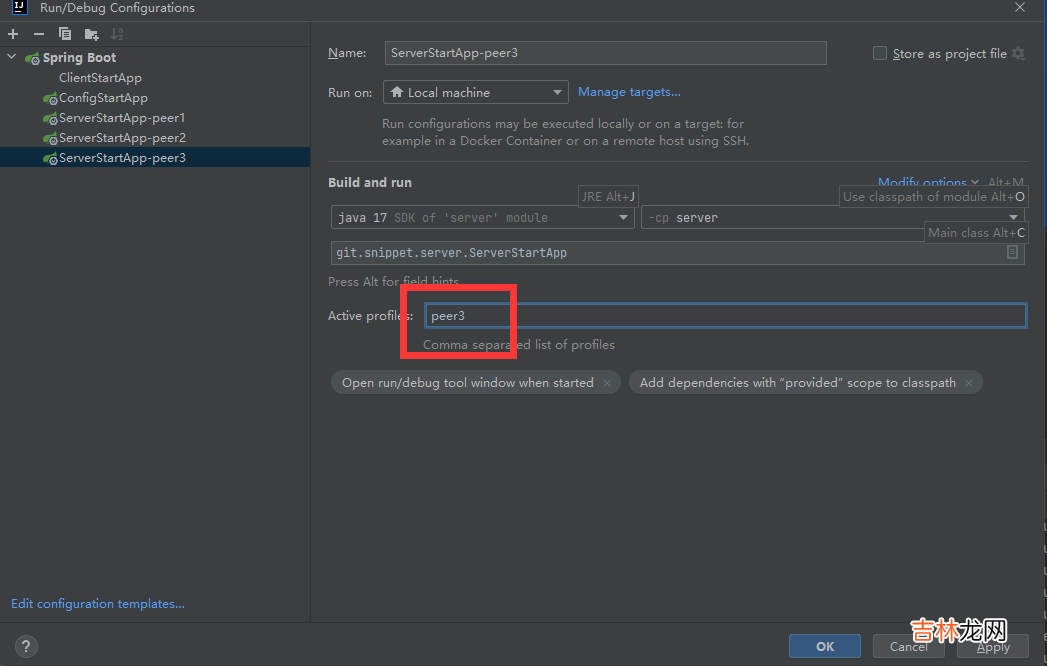
server:port: 8081spring:application:name: eureka-client1eureka:client:serviceUrl:defaultZone: http://localhost:8761/eureka/,http://localhost:8762/eureka/,http://localhost:8763/eureka/修改 peer1 的配置server:port: 8761spring:application:name: eureka-servereureka:instance:hostname: localhostpreferIpAddress: trueclient:registerWithEureka: truefetchRegistry: trueserviceUrl:defaultZone: http://localhost:8762/eureka/,http://localhost:8763/eureka/server:waitTimeInMsWhenSyncEmpty: 0enableSelfPreservation: false使得 peer1 可以感知到另外两个实例,同理,修改 peer2 实例配置server:port: 8762eureka:instance:hostname: localhostpreferIpAddress: trueclient:registerWithEureka: truefetchRegistry: trueserviceUrl:defaultZone: http://localhost:8761/eureka/,http://localhost:8763/eureka/server:waitTimeInMsWhenSyncEmpty: 0enableSelfPreservation: false修改 peer3 实例配置server:port: 8763eureka:instance:hostname: localhostpreferIpAddress: trueclient:registerWithEureka: truefetchRegistry: trueserviceUrl:defaultZone: http://localhost:8761/eureka/,http://localhost:8762/eureka/server:waitTimeInMsWhenSyncEmpty: 0enableSelfPreservation: false接下来,重启配置中,即 config 模块然后,启动第三个实例,profile 指定 peer3
文章插图
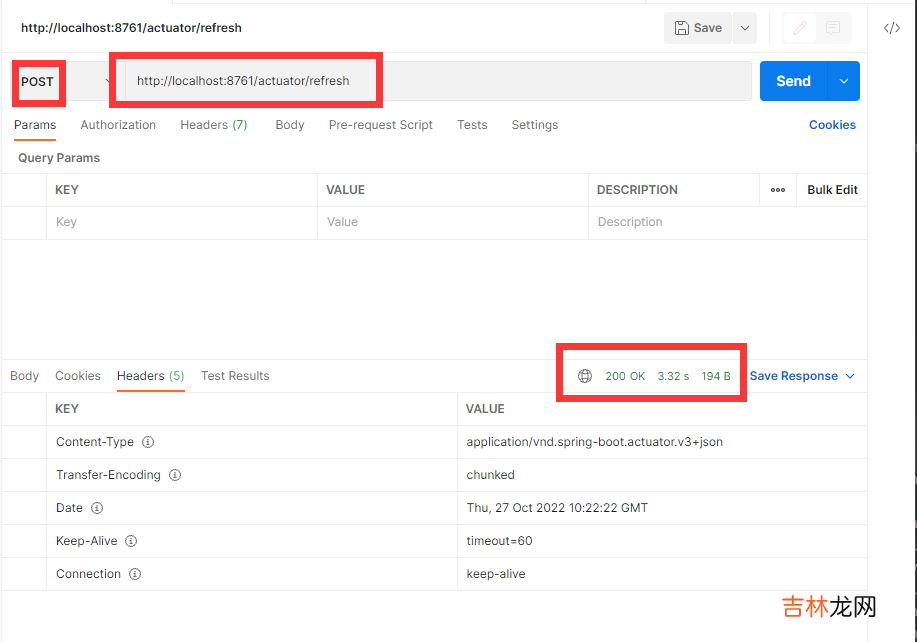
然后,使用 Eureka 的管理 API,刷新 peer1,peer2 的配置信息
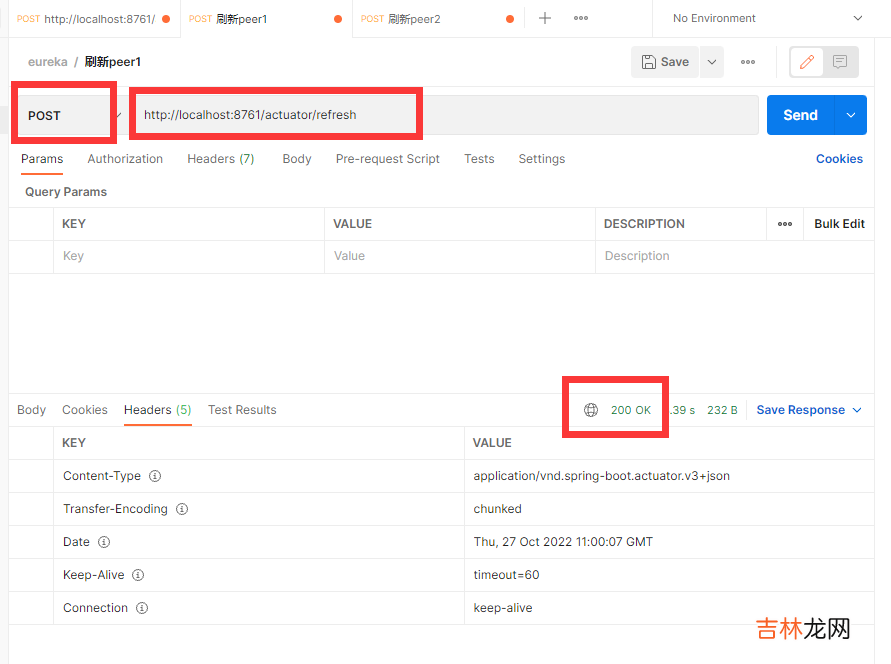
文章插图
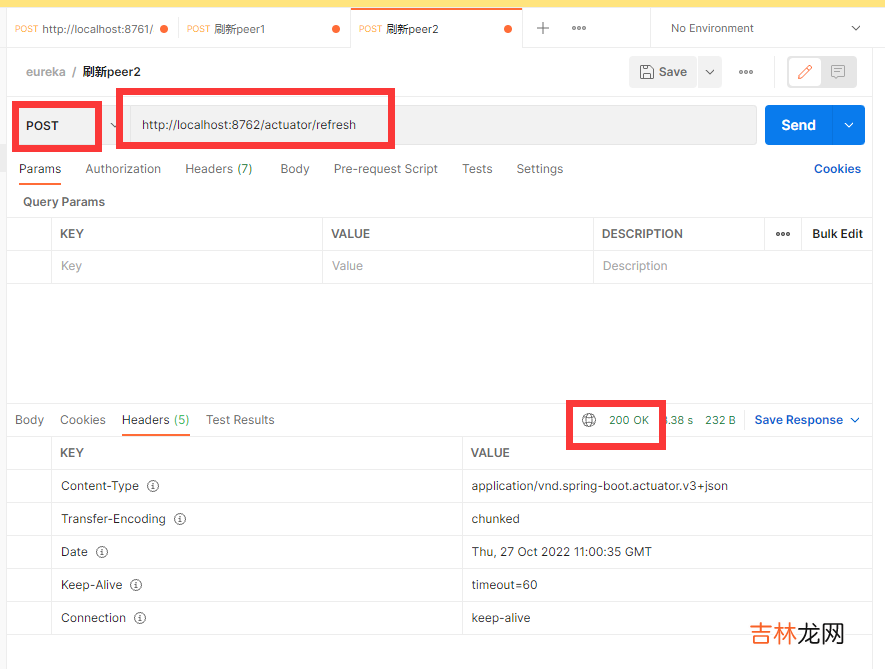
文章插图
再次通过浏览器访问:http://localhost:8761/
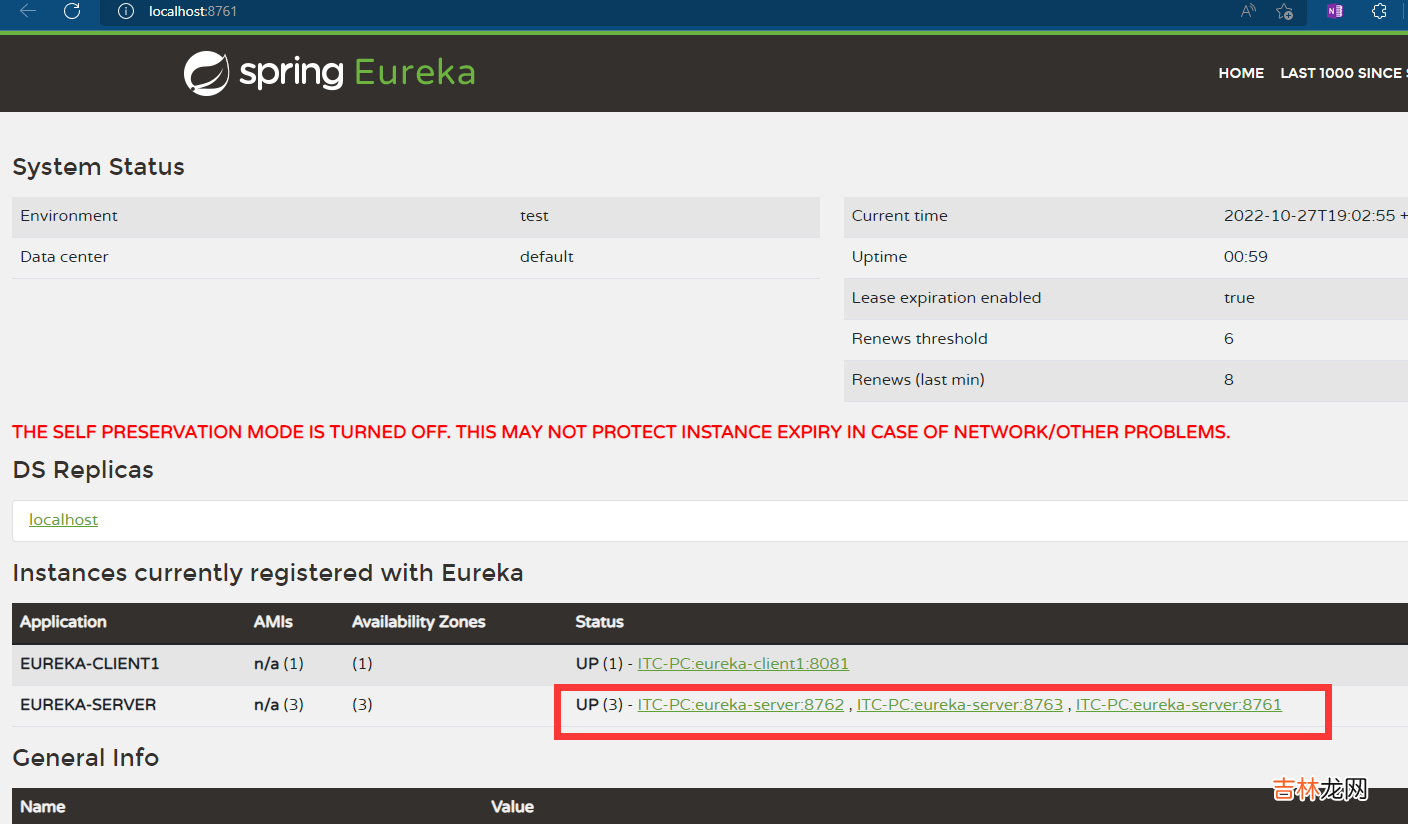
文章插图
出现三个实例,扩容成功 。
完整代码见:Github
参考资料重新定义 Spring Cloud 实战
经验总结扩展阅读
- React实现一个简易版Swiper
- 四十七 SpringCloud微服务实战——搭建企业级开发框架:【移动开发】整合uni-app搭建移动端快速开发框架-添加Axios并实现登录功能
- 二 SpringCloud - Eureka注册中心,feign远程调用,hystrix降级和熔断
- 【Serverless】云函数微信小程序
- 二 京东云开发者| Redis数据结构-List、Hash、Set及Sorted Set的结构实现
- 一 Redis数据结构-Redis的数据存储及String类型的实现
- Springboot 一行代码实现文件上传 20个平台!少写代码到极致
- C#实现生成Markdown文档目录树
- 利用inotify和rsync服务实现数据实时同步
- OpenAPI 接口幂等实现

