创建Feign接口HelloService.java , 通过feign实现远程方法的调用
package cn.itxs.service;import org.springframework.cloud.openfeign.FeignClient;import org.springframework.stereotype.Service;import org.springframework.web.bind.annotation.PathVariable;import org.springframework.web.bind.annotation.RequestMapping;@Service@FeignClient(name = "provider-service")public interface HelloService {@RequestMapping("/hello/{value}")String hello(@PathVariable("value") String value);}创建提供者微服务演示控制器ProviderHelloController.java
package cn.itxs.controller;import cn.itxs.service.HelloService;import org.springframework.web.bind.annotation.PathVariable;import org.springframework.web.bind.annotation.RequestMapping;import org.springframework.web.bind.annotation.RestController;@RestControllerpublic class ConsumerHelloController {private final HelloService helloService;ConsumerHelloController(HelloService helloService) {this.helloService = helloService;}@RequestMapping(value = "https://www.huyubaike.com/hello/{val}")public String echo(@PathVariable String val) {return helloService.hello(val);}}启动类ConsumerApplication.java
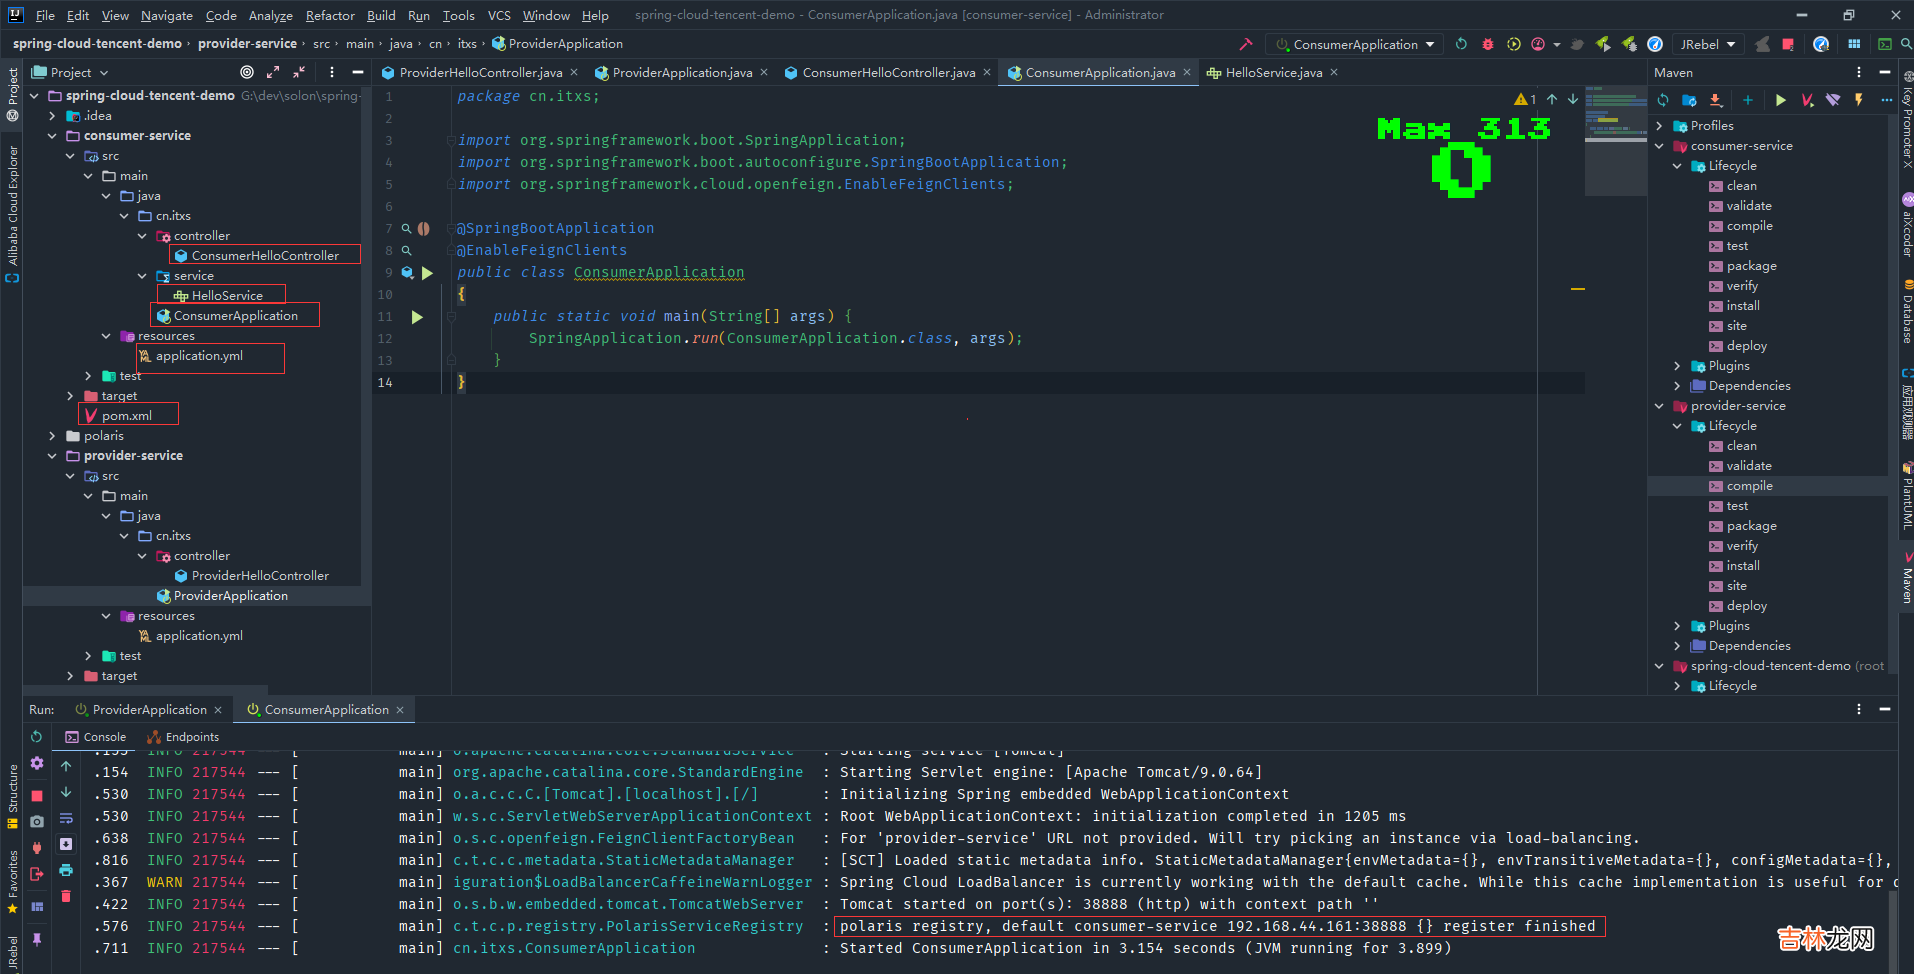
package cn.itxs;import org.springframework.boot.SpringApplication;import org.springframework.boot.autoconfigure.SpringBootApplication;import org.springframework.cloud.openfeign.EnableFeignClients;@SpringBootApplication@EnableFeignClientspublic class ConsumerApplication{public static void main(String[] args) {SpringApplication.run(ConsumerApplication.class, args);}}启动消费者微服务ProviderApplication
文章插图
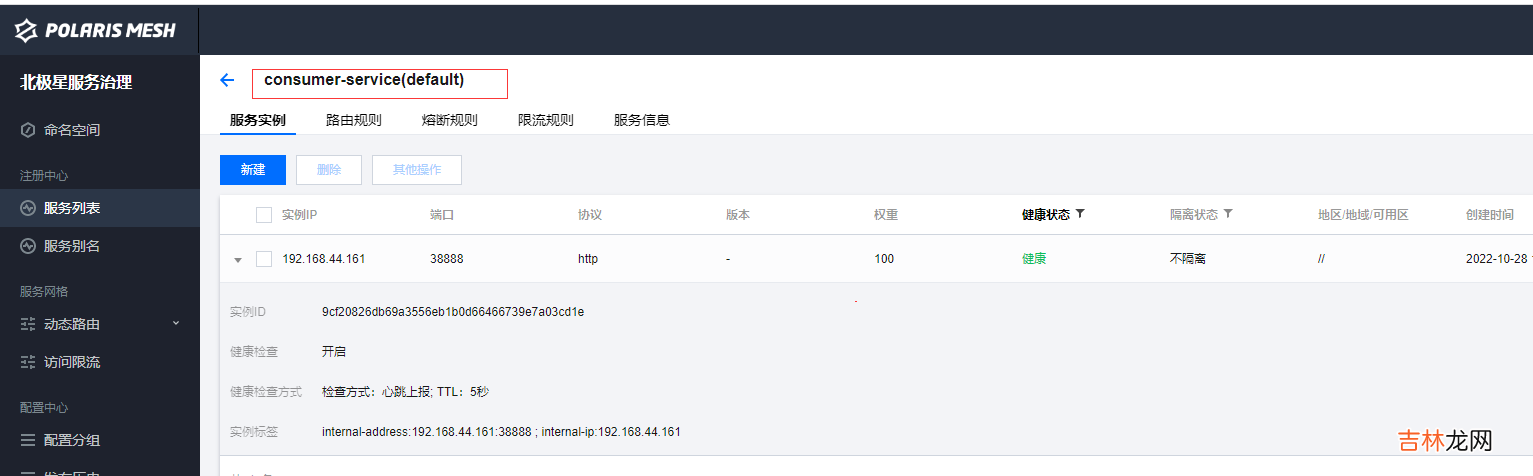
查看控制台页面服务列表可以看到提供者微服务已经注册到北极星中default命名空间
文章插图
通过消费者提供控制器访问接口访问 , http://192.168.44.161:38888/hello/1 , 返回服务提供者的结果 , 成功实现服务注册和发现 。

文章插图
动态配置示例引入spring-cloud-starter-tencent-polaris-config 实现 Spring Cloud 配置的动态管理 , spring-cloud-starter-bootstrap 以便可以支持 bootstrap.yml 的识别与加载 。添加依赖如下:
<dependency><groupId>com.tencent.cloud</groupId><artifactId>spring-cloud-starter-tencent-polaris-config</artifactId></dependency><dependency><groupId>org.springframework.cloud</groupId><artifactId>spring-cloud-starter-bootstrap</artifactId></dependency>在 resources 目录下创建 bootstrap.yml 文件 , 并按照如下进行配置server:port: 48084spring:application:name: config-groupcloud:polaris:address: grpc://192.168.5.52:8091namespace: defaultconfig:auto-refresh: true # auto refresh when config file changedgroups:- name: ${spring.application.name} # group namefiles: [ "config/user.yaml" ]创建配置分组以及配置文件- 创建配置分组 config-group
- 创建配置文件
config/user.yaml, 编辑和发布配置 , 编辑配置项内容为name: zhangsan
package cn.itxs.controller;import org.springframework.beans.factory.annotation.Value;import org.springframework.cloud.context.config.annotation.RefreshScope;import org.springframework.web.bind.annotation.RequestMapping;import org.springframework.web.bind.annotation.RestController;@RestController@RefreshScopepublic class ConfigController {@Value("${name}")private String name;@RequestMapping("/name")public String name() {return name;}}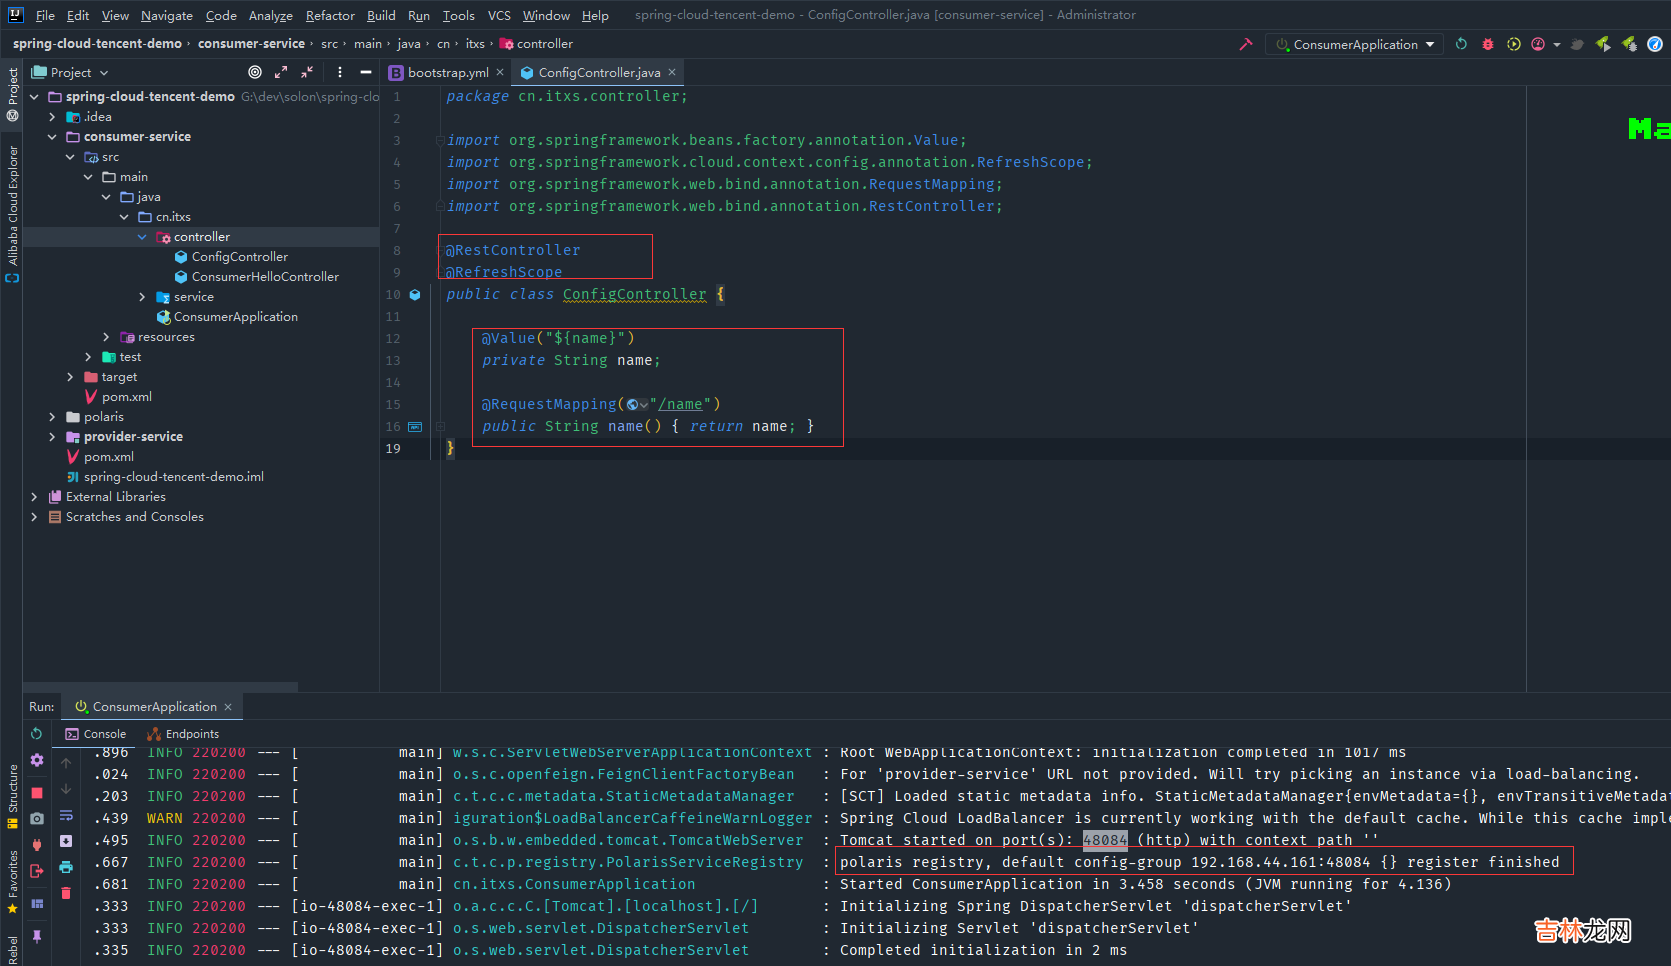
经验总结扩展阅读


- 结婚的微信祝福句子
- 四十八 SpringCloud微服务实战——搭建企业级开发框架:【移动开发】整合uni-app搭建移动端快速开发框架-使用第三方UI框架
- 结婚的微博祝福句子
- 微信进去钱包怎么设置密码 微信进去钱包怎么设置密码保护
- Dapr实现.Net Grpc服务之间的发布和订阅,并采用WebApi类似的事件订阅方式
- Silky微服务框架之模块
- 国庆节微信祝福语简短
- 木签子可以放微波炉吗
- 一路向阳的微信签名 简短的签名很走心
- 一篇文章带你了解轻量级Web服务器——Nginx简单入门